
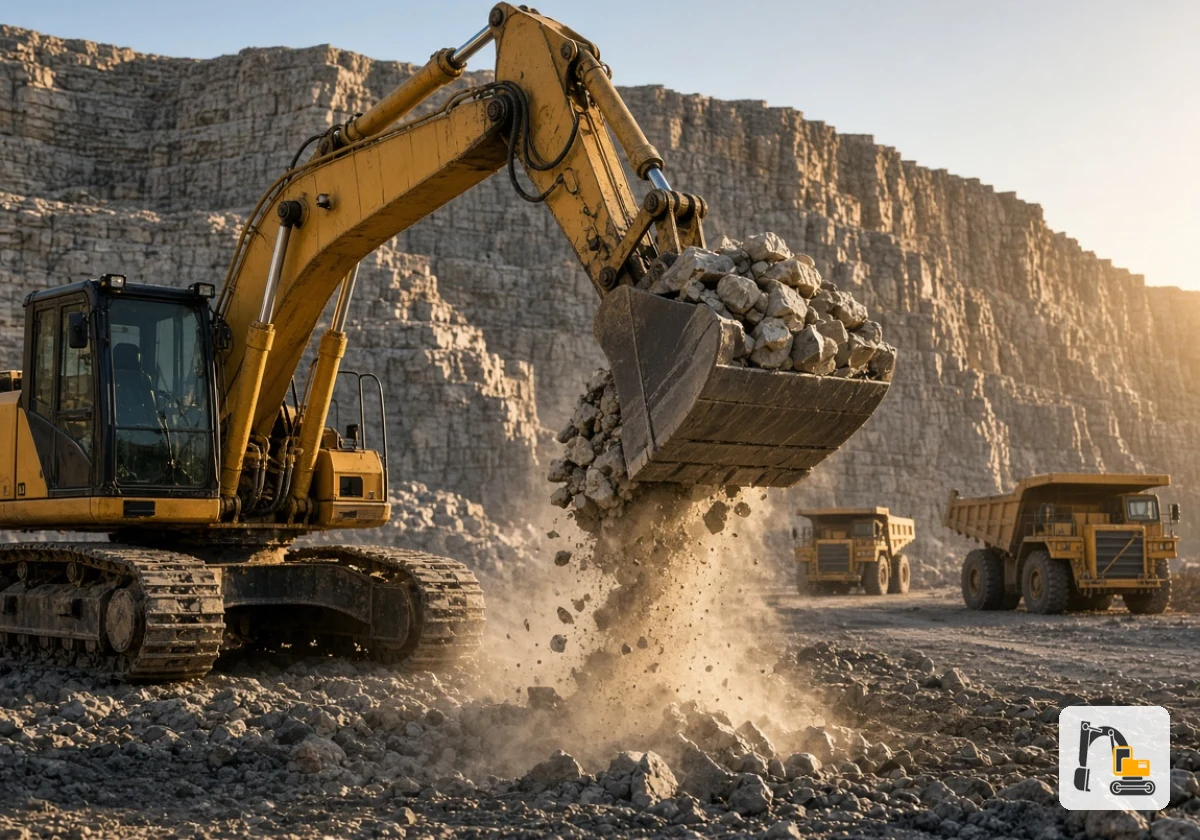
When you find excavator bucket teeth breaking repeatedly, replacing them without checking the cause usually leads to another failure. The cause is often a worn adapter, a loose pin or a tooth profile that doesn’t suit the ground.
Swapping the broken teeth and returning to work might seem like the quickest fix. At Bites Off Broadway, we supply excavator parts and undercarriage components to construction and mining companies. Many repeat orders we see trace back to a fault that new teeth alone didn’t solve. Our team put this guide together to help you find that fault first.
You’ll learn about five common failure causes, how to read fracture patterns and what to inspect around adapters and pins. We’ll also explain how a simple failure log helps you identify recurring problems early.
Bucket Tooth Failure Causes: Where the Damage Really Starts
Excavator ground engaging tools work together as one assembly. Teeth, adapters, pins, retainers and the cutting edge all handle digging forces. When one component wears or loosens, it can place extra stress on the surrounding parts. For example, a loose tooth can move against its adapter and accelerate wear around the nose.
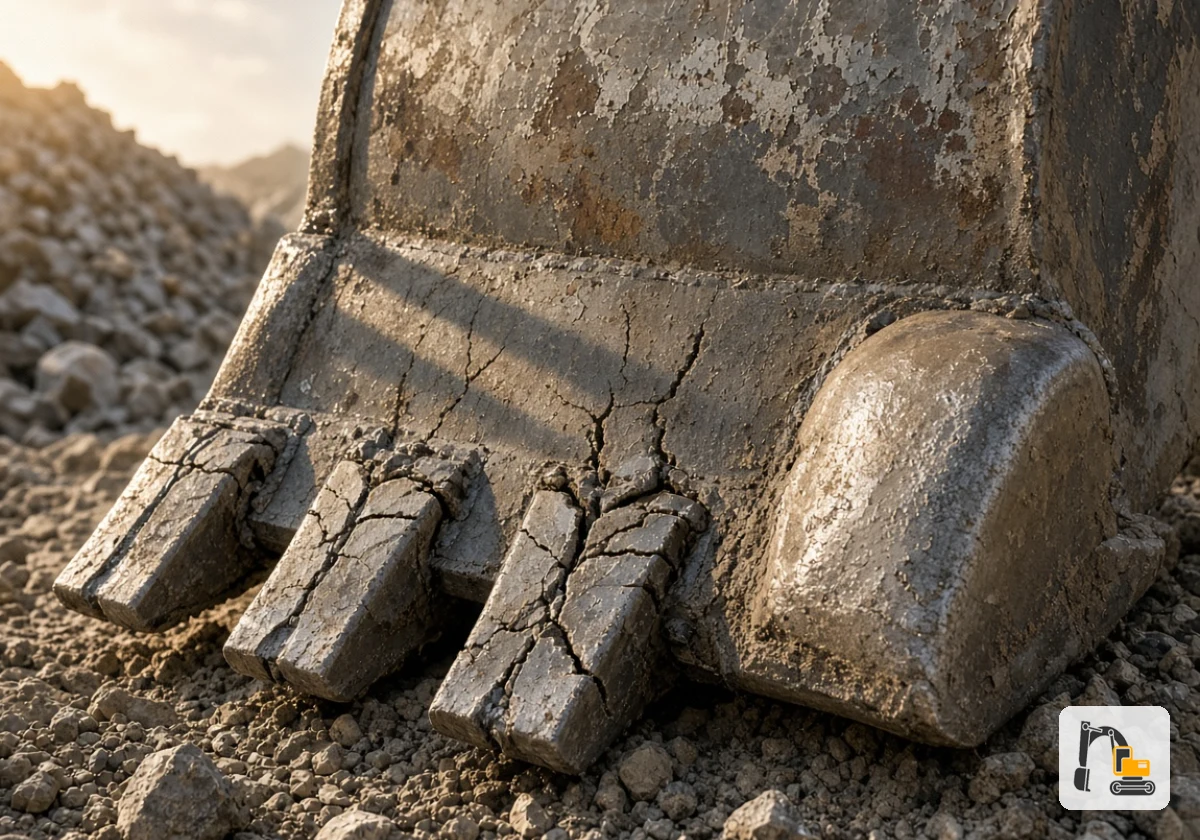
These five causes provide a useful starting point when the same bucket keeps losing teeth.
The Wrong Tooth for the Ground You’re Digging
A general-purpose tooth wears out or breaks prematurely in hard rock. Its shape might lack the impact strength or penetration needed for that application.
Hard rock often calls for a shorter, stronger tooth designed to handle heavy impacts. Abrasive materials usually need a profile with more wear material at the working end.
The same profile won’t suit every excavation job. Match your bucket tooth types to the material and impact conditions. If the work changes from clay to blasted rock, review the tooth design before the next shift.
Caterpillar’s ground engaging tools selection guide compares tooth designs by impact strength, penetration and wear life.
A Worn Adapter That Lets the Tooth Rock
The bucket adapter is the welded nose that holds each tooth. Once that nose wears down, the tooth sits loose and rocks under load.
Continued movement can wear the tooth pocket and damage the adapter’s seating surface. Fitting a new tooth onto that worn nose can lead to another loose fit and premature failure.
Inspect the adapter whenever you replace a tooth. If a correctly matched new tooth still moves excessively, check the nose dimensions and wear against the manufacturer’s limits. Replace the adapter when it falls outside those specifications.
Loose or Missing Pins and Retainers
The pin and retaining component secure the tooth to its adapter. Depending on the system, this might involve a rubber lock, steel retainer or another locking arrangement. A damaged or poorly seated component can allow the pin to move during digging.
The tooth then drops off entirely, or the pin bends until it shears. Worn or damaged retainers can also fail to hold the pin securely.
Follow the tooth manufacturer’s instructions when replacing pins and retainers. Inspect reused components where the system allows reuse, and replace any that show wear or damage. Check the pin seating after installation and during routine bucket inspections.
Prying, Twisting and Hard Impacts
Using the bucket to rip out a stump puts extra stress on the teeth and adapters. The load often reaches the side of the tooth rather than its intended digging face.
Twisting the bucket or striking hard ground can create sudden impact and uneven loading. Outer teeth near the side cutter may show greater wear because they experience additional side contact.
Operators should use controlled bucket movements and avoid using the teeth as pry bars. For heavily compacted ground or rock, consider a suitable ripper or breaker attachment before excavation.
Poor Heat Treatment and Cheap Steel
Heat treatment controls the hardness and toughness of steel through carefully managed heating and cooling. Poor material selection or an unsuitable treatment process can leave a tooth too soft or too brittle. A softer tooth may deform under load, while a brittle one may crack under impact.
Steel with insufficient yield strength can deform under loads the tooth should withstand. Poor material quality can also reduce wear resistance and shorten service life. Those failures increase replacement costs and unplanned downtime.
Ask your supplier for the material specification, hardness range and heat-treatment details. Check whether the tooth design matches your application, and ask for test or quality documentation where available. Forged construction alone doesn’t guarantee suitable performance.
What Does the Break Pattern on a Bucket Tooth Tell You?
A failed tooth can offer useful clues about what went wrong. Its fracture, wear pattern and condition around the pocket help narrow down the possible causes. Compare those signs with the machine’s working conditions before deciding what to repair.
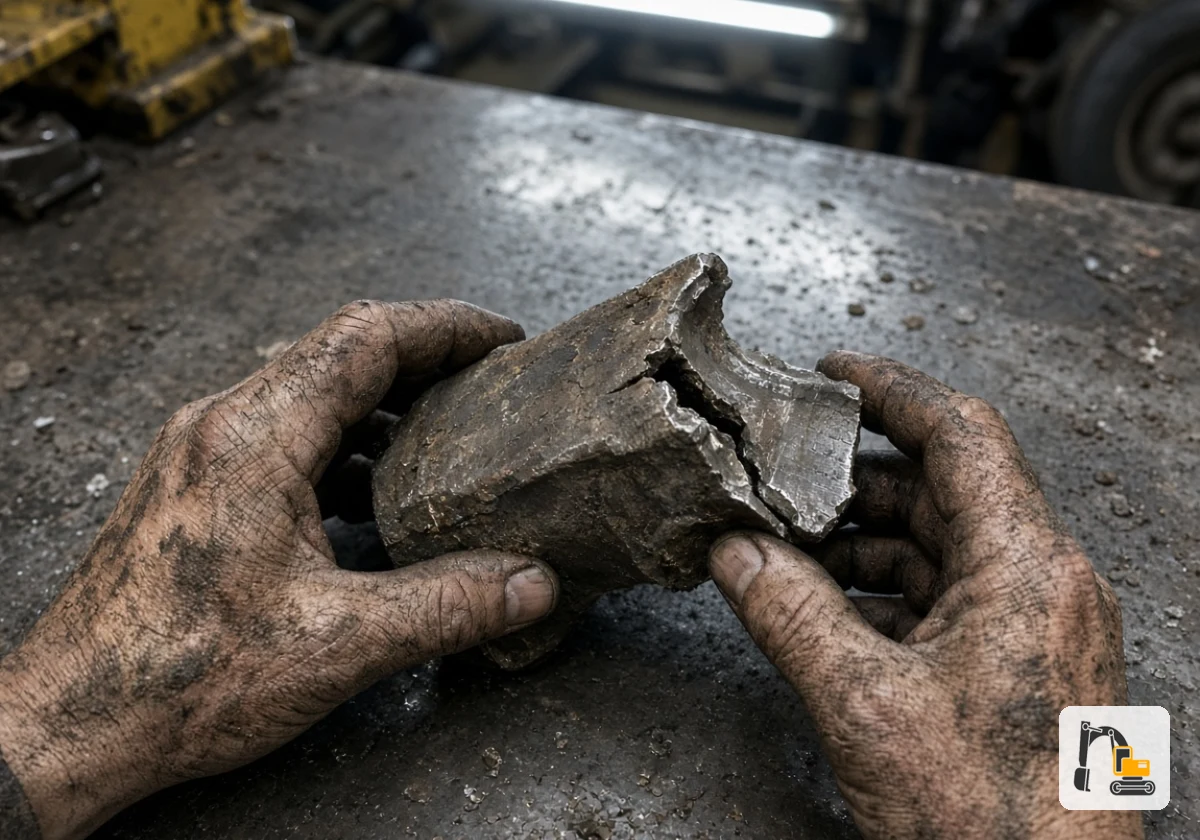
Match what you see on the failed tooth to the rows below.
| Break or wear pattern | Possible cause | What to inspect next |
|---|---|---|
| Cracks around the tooth pocket | Adapter wear, poor fit or impact damage | Check the adapter nose, tooth seating and surrounding welds |
| Tooth and pin both missing | Failed retention or incorrect installation | Inspect the pin, retainer and locking arrangement |
| Clean, flat snap across the tip | Severe impact, material defect or unsuitable tooth design | Review ground conditions, operating technique and material specifications |
| Bent or mushroomed tip | Excessive loading or insufficient material strength | Check tooth suitability, hardness and operating conditions |
| Rounded or blunt tip | Abrasive wear or an unsuitable tooth profile | Compare the tooth with the manufacturer’s wear limits and application guide |
If two or more teeth on the same bucket show the same pattern, treat it as an adapter or operating problem, rather than a tooth problem. Check both components before fitting another tooth, and follow the manufacturer’s replacement limits.
Checking Adapters, Pins and Retainers Before Fitting New Teeth
A quick check of the adapter, pins, retainers and cutting edge takes minutes and can save a costly weld repair.
This inspection deserves particular attention because adapter and weld repairs can cost considerably more than replacing a tooth. The guide to excavator bucket teeth from Construction Equipment (2026) warns that “wear extending into the adapters and/or their welds is more expensive to repair or replace.”
Spotting that wear early keeps repair costs down. It also means a simple bolt-on fix, with no welding.
To catch that wear, start with a clean surface. After a long shift, cleaning every adapter can feel like another job on an already busy maintenance list. Still, remove dirt and packed material before inspecting the nose and surrounding welds. A wire brush helps expose wear, cracks and damage that mud can conceal.
When you’re ready to order, confirm the excavator model, bucket details, adapter reference and tooth position. Use our existing excavator part number guide to identify the correct replacement.
Work through these five checks on every adapter:
- Adapter Welds: Cracks in the welds and bucket lip usually start at the corners. Hairline cracks tend to spread under repeated impact, so arrange a repair as soon as you find structural damage. You should mark the end of each crack with a paint pen to see whether it has grown by the next check.
- Nose Fit: A worn adapter nose lets the replacement tooth rock in its pocket. That movement only gets worse once digging starts. If the nose falls outside the supplier’s wear limits, the adapter will need replacing.
- Retainers: Rubber locks harden and crack with age and heat, so they can lose grip even when they look intact. Steel retainers also deform after repeated tooth changes. Spares in the service vehicle let you replace worn ones on the spot.
- Pins: Bent, grooved, corroded or flattened pins can let a tooth drop off mid-shift. A pin that won’t slide in or out cleanly usually has a bend you can’t see. Whenever you find damage, swap in a new pin.
- Cutting Edge and Side Cutter: Heavier wear on one side of the bucket lip suggests uneven loading or an operator favouring that side. The difference between corners shows where the bucket takes the most load. Recording the pattern in your failure log reveals whether it continues.
A new tooth won’t correct a worn adapter, damaged retainer or cracked weld. Once each adapter passes these checks, fit the new teeth and note the date in your failure log.
A Simple Failure Log for Your Excavator Bucket Ends the Guesswork
After checking the failed components, start tracking where and when each tooth wears or breaks. A simple failure log helps you compare incidents across machines, operators and ground conditions.
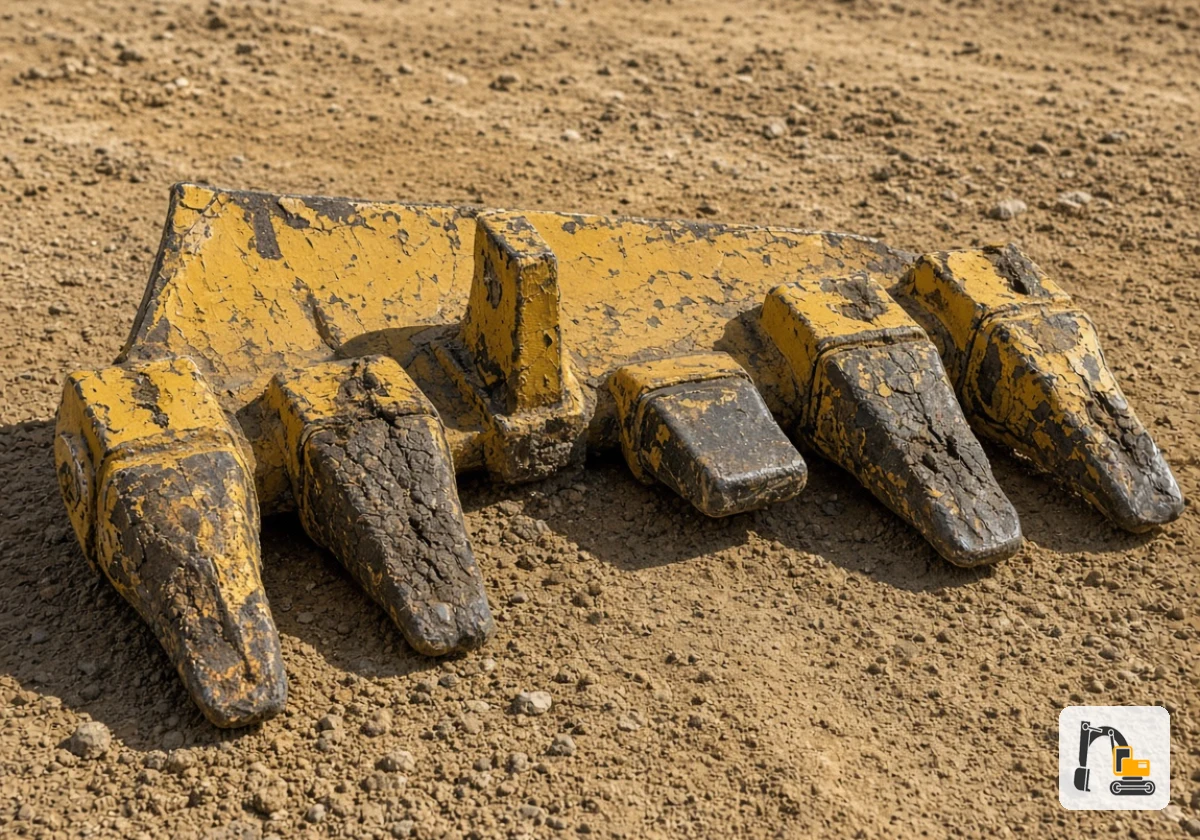
You can use a notebook in the cab or a shared spreadsheet. Record the date, machine, operator, tooth position, ground type and break pattern each time a tooth fails. Include the tooth type, part number and machine hours as well, so you can compare different setups accurately.
After several weeks, the entries may reveal patterns worth investigating. For example, repeated failures on the same bucket corner could indicate an adapter alignment issue, uneven loading or localized impact. If the same failure pattern follows one operator across machines, review their digging technique and working conditions.
Over time, your records can help compare the service life of different bucket teeth, brands and profiles. Track each set under similar ground conditions and machine workloads to make the comparison more useful. Your records also help you stock the right wear parts before a job starts.
You can also add these checks to your fleet’s preventive maintenance schedule. That way, operators inspect pins, retainers and adapters during planned stops rather than waiting for another tooth to fail during excavation.
Fix the Cause Before You Reorder Teeth
Repeated tooth failures deserve a closer look at the entire bucket assembly. Ground conditions, tooth selection, operating technique and adapter condition all affect how long your excavator bucket teeth last.
Start with the latest failed tooth. Compare its damage with your inspection records, check the adapter and retention system, and record what you find. Over time, those records will help you identify recurring problems and choose suitable wear parts.
Ready to reduce repeat failures and unnecessary downtime? Contact Bites Off Broadway for help matching the right teeth, pins and adapters to your machine and working conditions.